Imagine biting into a decadent chocolate dessert that instantly takes you back to childhood. These Butterfinger balls are more than just a no-bake treat. They’re a nostalgic explosion of flavor that will make your taste buds dance with joy. I remember the first time I created these magical butterfinger balls in my kitchen. Watching my family’s eyes light up with pure delight was unforgettable.

Making these irresistible chocolate desserts isn’t just about following a recipe. It’s about creating moments of pure happiness. Whether you’re preparing a special treat for family gatherings or looking for an easy no-bake dessert, these Butterfinger balls are your ultimate solution.
Why These Homemade Butterfinger Balls Will Become Your New Favorite Snack
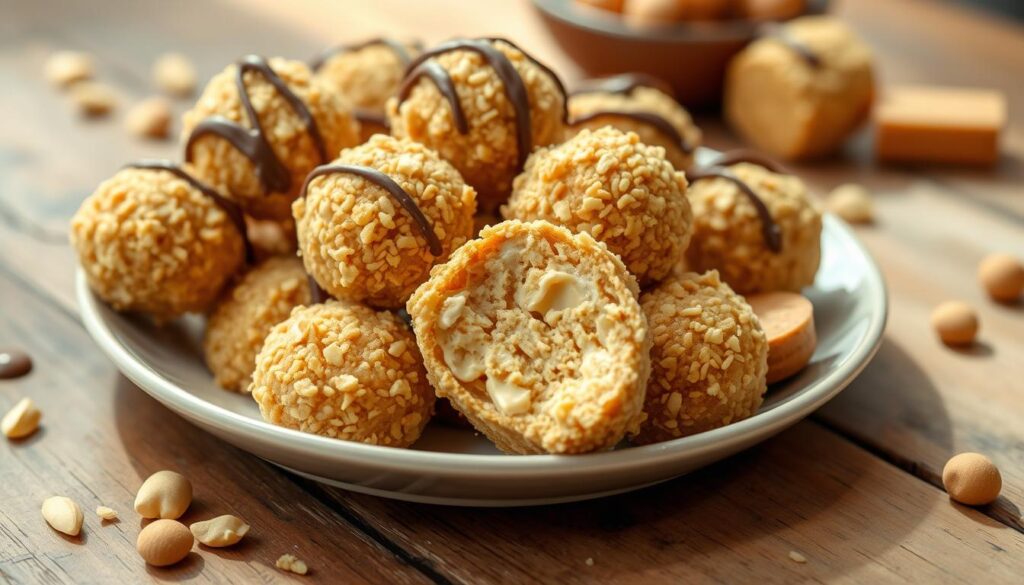
Craving a delightful peanut butter candy that’s both easy to make and irresistibly delicious? Butterfinger Balls are the ultimate homemade candy balls that will transform your snack game forever. These bite-sized treats combine the best of sweet and crunchy flavors in one perfect package.
The Perfect Blend of Peanut Butter and Chocolate
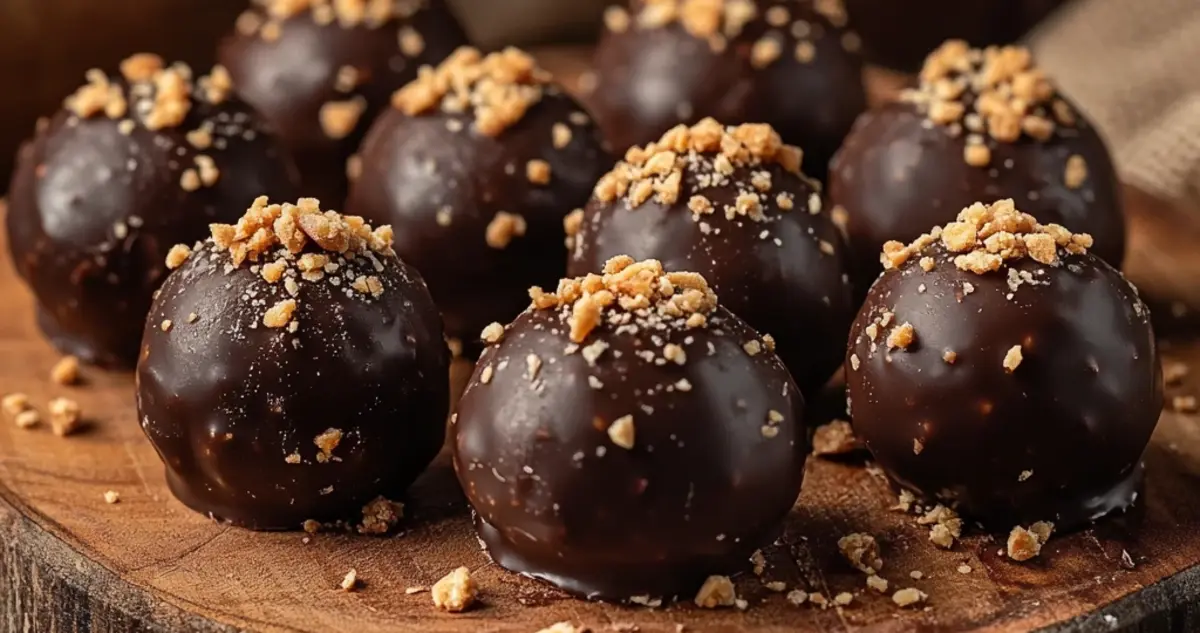
Every bite of these easy snack recipes offers a mouthwatering combination that will have your taste buds dancing with delight. Additionally, the rich chocolate coating perfectly complements the crispy peanut butter center, creating a harmonious flavor profile that’s absolutely impossible to resist. As a result, your family and friends won’t be able to stop at just one!

No Special Equipment Required
You don’t need to be a professional chef to craft these amazing treats. With just a few basic kitchen tools, you can effortlessly whip up these delectable peanut butter candy balls in no time. Moreover, the recipe is straightforward and beginner-friendly, making it ideal for home cooks of all skill levels.
- Simple ingredients
- Basic mixing tools
- No specialized equipment needed
Make-Ahead Butterfinger Candy Convenience
One of the best things about these homemade candy balls is their incredible make-ahead potential. You can prepare them in advance, store them in the refrigerator, and have a delicious treat ready whenever you want. Perfect for parties, gatherings, or just a sweet personal indulgence!
Whether you’re looking for a quick dessert or a crowd-pleasing snack, these Butterfinger Balls are sure to become a staple in your recipe collection.
Essential Ingredients for Perfect Butterfinger Candy Balls

Making delicious Butterfinger Balls starts with selecting the right ingredients. To begin your journey to creating irresistible peanut butter candy, you’ll need just a few key components. Furthermore, these simple ingredients come together to create treats that everyone will love.
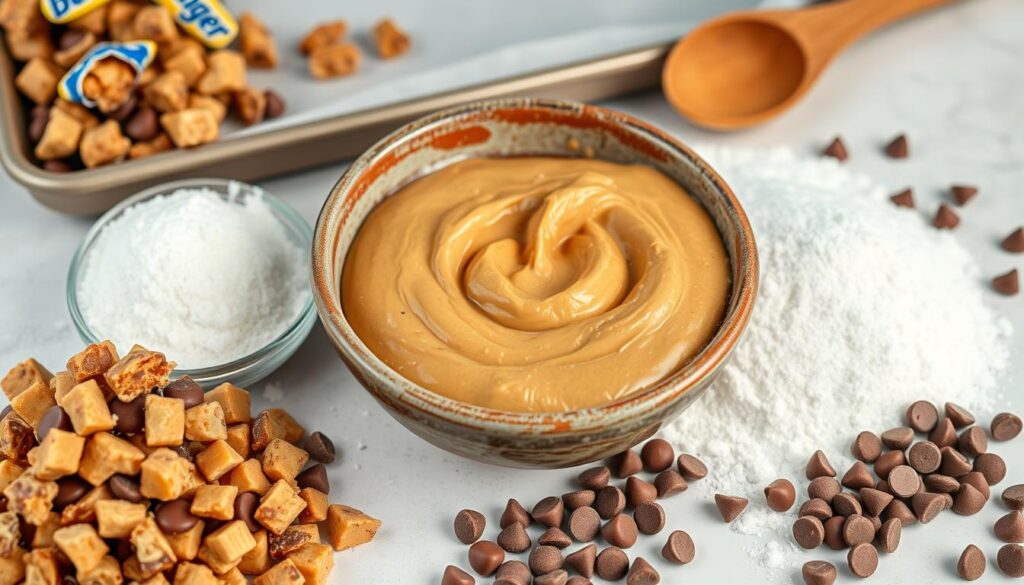
The base of these tasty treats needs high-quality ingredients. They should capture the classic Butterfinger taste. Here are the must-have ingredients:
- Crispy peanut butter – The main ingredient, best if smooth and creamy
- Powdered sugar for binding and sweetness
- Premium chocolate for coating (milk or dark chocolate is best)
- Butterfinger candy bars (crushed)
- Unsalted butter for a rich texture
Choosing top-notch ingredients is key to making great butterfinger balls. You want to get the perfect mix of crunch, sweetness, and chocolate. This mix makes butterfinger balls so hard to resist.
Pro tip: Use room temperature ingredients for smoother mixing. This ensures your treats have a consistent texture and flavor. Cold ingredients can make mixing hard and affect the taste.
Each ingredient is important for making the best butterfinger balls. The mix of peanut butter, chocolate, and crushed Butterfinger makes a treat that will please your taste buds.
Kitchen Tools and Equipment You’ll Need
Making tasty homemade candy balls is simple, even without a fancy kitchen. With just a few basic tools, you can whip up these delightful treats that everyone will love. Moreover, having the right tools on hand makes preparing no-bake treats both fun and effortless.
Basic Tools for Success
To start making your Butterfinger Balls, you’ll need these key items:
- Large mixing bowl
- Measuring cups and spoons
- Rubber spatula
- Baking sheet
- Parchment paper
- Small cookie scoop or tablespoon
Optional Equipment for Easier Preparation
These tools can make your candy balls making process even better:
- Food processor for crushing graham crackers
- Digital kitchen scale for precise measurements
- Candy dipping tools for smooth chocolate coating
- Silicone candy molds for uniform shapes
Storage Containers and Materials
To keep your treats fresh, get these:
- Airtight plastic containers
- Wax paper for layering
- Refrigerator-safe storage boxes
With these tools, you’re all set to make delicious Butterfinger Balls that look and taste amazing!
Step-by-Step Mixing and Rolling Process
Making delicious butterfinger balls is simpler than you might think. This no-bake recipe needs careful mixing and precise rolling. This ensures the perfect peanut butter candy texture.
First, gather your ingredients. The secret to amazing butterfinger balls is keeping the right consistency during mixing.
- Combine peanut butter and powdered sugar in a large mixing bowl
- Blend until the mixture becomes smooth and slightly stiff
- Add crushed graham crackers for additional texture
- Mix thoroughly until ingredients are well incorporated
Rolling your Butterfinger Balls demands consistency and attention to detail. To achieve the best results, use clean hands and work quickly to prevent the mixture from becoming too warm. Moreover, a pro tip is to slightly dampen your hands, which helps create smoother, more uniform balls effortlessly.
- Aim for bite-sized balls around 1-inch in diameter
- Place rolled balls on a parchment-lined baking sheet
- Refrigerate for 15-20 minutes to help them firm up
Your peanut butter candy mixture should stick together well without crumbling. If it’s too dry, add a bit of melted butter. If it’s too wet, add more powdered sugar.
Tips for Achieving the Perfect Chocolate Coating
Creating stunning chocolate desserts requires mastering the coating technique. When making homemade candy balls, the chocolate coating is key. It can turn your treats from good to spectacular.
Proper Tempering Techniques
Tempering chocolate is vital for a smooth, glossy finish. Follow these steps for professional-looking homemade candy balls:
- Chop chocolate into uniform small pieces
- Use a double boiler to melt chocolate gradually
- Maintain precise temperature control
- Stir constantly to prevent burning
Coating Methods for Professional Results
Professional chocolate coating requires both patience and technique. To begin, use a fork or dipping tool to carefully dip your candy balls. This approach helps create an even, thin chocolate shell. Additionally, be sure to tap off any excess chocolate, allowing it to drip back into the bowl. This ensures clean, smooth bites that look and taste perfect.
Troubleshooting Common Coating Issues
Working with chocolate desserts can have its challenges. Here are quick fixes for common coating problems:
- Chocolate is too thick? Add a little coconut oil
- Chocolate develops streaks? Reheat carefully
- Coating looks dull? Check your tempering technique
- Chocolate won’t stick? Ensure candy balls are cold
With practice, you’ll master the art of creating perfectly coated homemade candy balls. They’ll look and taste professional.
Storage Guidelines and Shelf Life
Storing your homemade butterfinger balls right is key to keeping them tasty and fresh. These treats need special care to stay good and last longer.
Here’s how to store your butterfinger balls:
- Refrigerate in an airtight container
- Place parchment paper between layers to prevent sticking
- Keep away from direct sunlight and heat sources
For a short time, you can store them at room temperature. But, to keep them fresh longer, refrigeration is best. Your homemade candy balls will stay tasty for:
- Refrigerated: Up to 2 weeks
- Frozen: Up to 3 months
Freezing is a great way to keep them fresh for even longer. Wrap each ball in plastic wrap first, then put them in a freezer-safe container. When you want to eat one, thaw it at room temperature for 15-20 minutes.
Pro tip: Always use clean, dry utensils when handling these treats. This helps prevent moisture and bacterial growth. With the right storage, you can enjoy your butterfinger balls anytime!
Creative Variations and Flavor Twists
Turn your classic Butterfinger Balls into exciting treats that will truly amaze your friends and family. Furthermore, these nutty confections are perfect for any party. Additionally, they offer endless ways to customize, making them both fun and unique.
Nutty Alternatives
Try new flavors by using different nuts and nut butters. Here are some tasty options:
- Almond butter for a sophisticated twist
- Cashew butter for a creamy, rich taste
- Hazelnut spread for a chocolate-nutty mix
Coating Options
Explore beyond chocolate coatings. Here are some exciting alternatives:
- White chocolate for a sweet, elegant look
- Dark chocolate for a deep flavor
- Colored candy melts for festive looks
- Crushed nuts for extra crunch
Seasonal Adaptations
Make your Butterfinger Balls special for holidays and seasons. Here are some ideas:
- Halloween: Orange and black candy coating
- Christmas: Peppermint-crushed topping
- Summer: Coconut-rolled variations
- Valentine’s Day: Heart-shaped designs with pink coating
Be creative and make these nutty treats your own. Your guests will love the unique flavors you add to the classic Butterfinger Ball recipe!
Perfect Occasions for Serving Butterfinger Balls
Butterfinger Balls are undoubtedly the ultimate fun party foods. In fact, they can effortlessly turn any gathering into a sweet celebration. Moreover, these kid-friendly sweets are ideal for creating special moments. Above all, they never fail to delight guests with an irresistible treat.
Consider these exciting occasions to showcase your delicious Butterfinger Balls:
- Birthday Parties: Kids and adults will love these indulgent bites as a unique dessert option
- Holiday Gatherings: Bring them to family reunions, Christmas parties, or Halloween events
- Potluck Gatherings: A crowd-pleasing dessert that’s easy to transport
- Movie Nights: Perfect shareable snack for friends and family
- Bake Sales: An eye-catching treat that will sell out quickly
These versatile treats work wonderfully as dessert alternatives. They are both convenient and delectable. Whether you’re hosting a small family dinner or a large community event, Butterfinger Balls will surely become the star of your spread.
Not just limited to formal events, these indulgent bites are also great for everyday enjoyment. Pack them in lunchboxes, serve as an after-school snack, or keep a batch ready for unexpected sweet cravings.
Expert Tips for Making Butterfinger Balls in Bulk
Planning to make lots of Butterfinger balls? Smart preparation saves time and ensures great results. These treats are great for parties, gifts, or your sweet collection.
To make more, plan ahead. Multiply your ingredients carefully. Use a digital scale for exact measurements. This keeps your Butterfinger balls perfect.
- Invest in larger mixing bowls for bulk ingredients
- Use parchment-lined baking sheets for cooling and storage
- Consider disposable gloves for easier rolling
Batch preparation makes making Butterfinger balls easier. Prep your workspace in advance. Set up cooling racks and wax paper-lined countertops. This helps you work faster with large amounts.
- Measure dry ingredients first
- Mix wet ingredients separately
- Combine in stages for even distribution
- Chill mixture between batches for consistency
Professional bakers suggest a production schedule. Break the process into steps: mixing, chilling, rolling, and coating. This keeps you organized and ensures delicious results.
FAQ
How long do Butterfinger Balls last?
Your homemade Butterfinger Balls will last up to 2 weeks in the fridge. Keep them chilled and use parchment paper between layers for the best taste and texture.
Can I freeze Butterfinger Balls?
Yes, you can freeze them for up to 3 months. Simply use a freezer-safe container, placing parchment paper between layers to prevent sticking. When you’re ready to enjoy them, thaw them in the fridge overnight for the best flavor and texture.
Are Butterfinger Balls gluten-free?
Most ingredients are naturally gluten-free. But, always check your ingredients. Use gluten-free graham crackers or crumbs to make sure the recipe is gluten-free.
Can I use a different type of chocolate for coating?
Yes! You can use dark chocolate, white chocolate, or colored candy melts. This will give you different flavors and looks.
How many Butterfinger Balls does this recipe make?
This recipe makes about 24-30 Butterfinger Balls, depending on size. You can adjust the ingredients for bigger or smaller batches.
Are these treats kid-friendly to make?
Butterfinger Balls are great for kids! They can help with mixing, rolling, and decorating. Just watch them when using melted chocolate or sharp tools.
What can I substitute if I don’t have graham crackers?
You can use vanilla wafers, shortbread cookies, or crushed pretzels instead. They give a similar crunch to graham crackers.
How do I prevent the chocolate coating from cracking?
Chill your Butterfinger Balls well before coating. Use room temperature chocolate and work in a cool place. Tempering the chocolate also helps avoid cracks.
Can I make these for a party in advance?
These Butterfinger Balls are perfect for parties! You can make them 2-3 days before. Store them in the fridge to make party prep easier.
Are there any nut-free variations?
For a nut-free version, use sunflower seed butter or soy nut butter instead of peanut butter. Always check your ingredients for allergies.
Conclusion
Making butterfinger balls at home is more than a recipe. It’s a fun journey that turns simple ingredients into amazing chocolate treats. Your homemade peanut butter candy will wow family and friends, offering a special twist on classic candies.
The charm of butterfinger balls is in their ease and flexibility. Whether you’re an experienced baker or new to the kitchen, this recipe is easy to follow. It lets you create tasty treats that are as good as store-bought ones. Making these treats is not just about following steps. It’s about making memories and enjoying the journey.
As you try out different versions and methods, you’ll get better at making candies. The joy of making butterfinger balls is more than the recipe. It’s about sharing sweet moments with loved ones. So, get your ingredients ready, be creative, and start your tasty journey today.
Remember, the best desserts are crafted with love and a personal touch. Furthermore, your homemade Butterfinger Balls will quickly become a favorite recipe that brings joy and creates lasting memories for everyone who tries them.

